jQuery Remove Class
Adding or removing a class gives the developer control over the styling of the element. On an action by the user, we can add or remove a class to the element to add some visual effects to the element.
In this tutorial, we will learn how to remove the class from an element using jQuery.
- Remove Class
- Remove Multiple Class
- Remove Class on Click
- Conclusion
Table of Contents
1. Remove Class using removeClass()
To remove a class from an element you an use removeClass() method. It removes the specified class passed as parameter from the element.
For example, removeClass("class-name") will remove the class class-name from the element.
Syntax:
$(selector).removeClass(classname)Here is a working example of removing class from an element.
Example
<div class="box" id="myDiv">This is a box</div>

<script>
  let element = $("#myDiv");

  //removing class
  element.removeClass("box");
</script>2. Remove Multiple Class
To remove multiple classes from an element, you can pass multiple class names as parameters separated by space.
For example, removeClass("class-name1 class-name2") will remove both the classes class-name1 and class-name2 from the element.
Example
<div class="giant box" id="myDiv">This is a box</div>

<script>
  let element = $("#myDiv");

  //removing multiple classes
  element.removeClass("giant box");
</script>3. Remove Class on Click
Most common scenario where you will need to remove class from an element is when the user clicks on the element or a button.
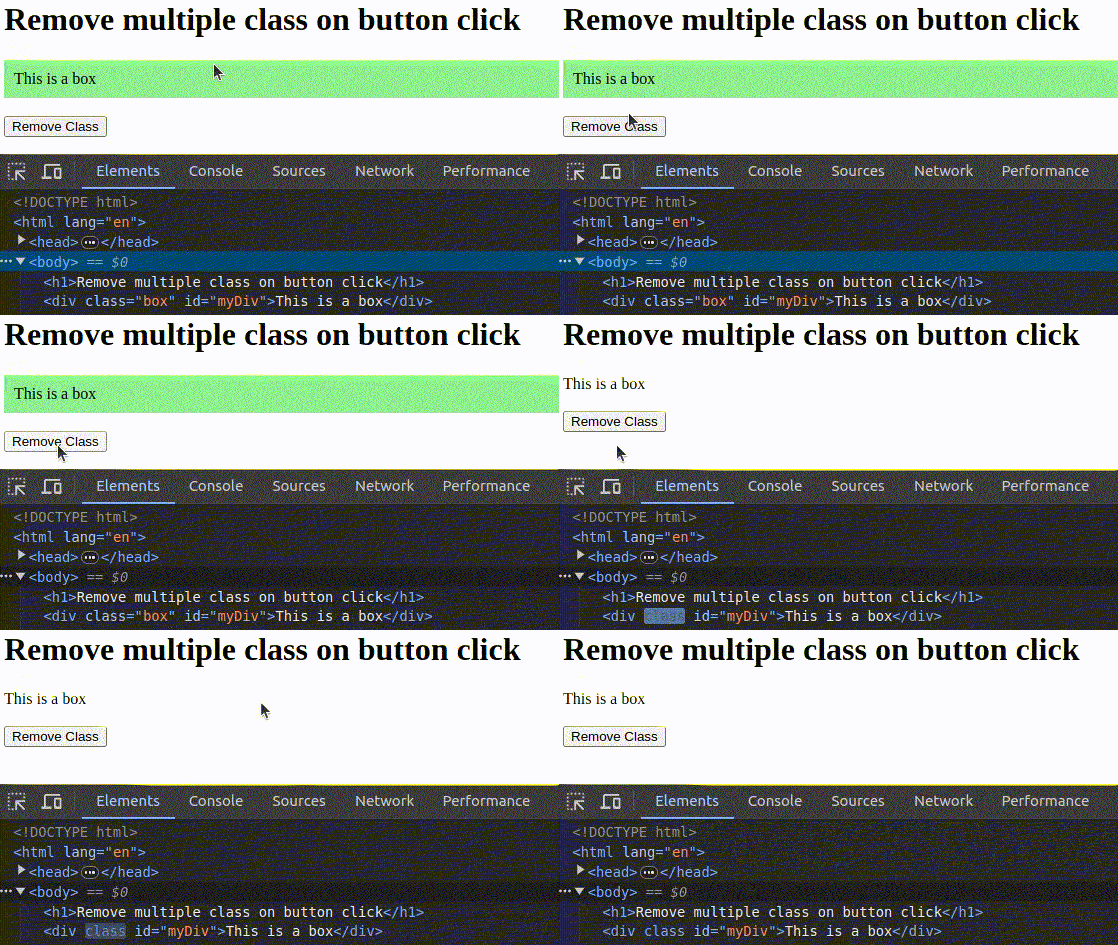
The following example shows how to remove class from an element when the user clicks on it.
Example
<div class="box" id="myDiv">This is a box</div>
<button id="myBtn">Remove Class</button>

<script>
  let element = $("#myDiv");

  //removing class on click
  $("#myBtn").click(function(){
    element.removeClass("box");
  });
</script>Output:

Conclusion
You learned how to remove class from an element using jQuery. To learn how to add class to an element, visit jQuery add class.
