JavaScript Create image Element
In the world of web development, working with images is an essential part of creating engaging and visually appealing websites.
In this tutorial, we will learn how to create an image element using JavaScript.
Creating an Image Element
To create an image element:
- Use the
createElement()method to create an image element by passing theimgas an argument. - Set the
srcattribute of the image element using thesetAttribute()method. - Set the
altattribute. - Append the image element to the document using the
appendChild()method.
Let's see an example to create an image element:
Example
// create an image element
let img = document.createElement('img');

// set the src attribute
// 👉 adding local image
img.setAttribute('src', '/image/panda.png');
// 👉 adding image from the web
img.setAttribute('src', 'https://www.tutorialstonight.com/image/panda.png');

// set the alt attribute
img.setAttribute('alt', 'panda');

// append the image element to the document
document.body.appendChild(img);Loading Images Asynchronously
When we create an image element using JavaScript, the image is loaded synchronously, this blocks the rendering of the page until the image is loaded.
To avoid this, we can load the image asynchronously using the onload event handler.
Let's see an example to load the image asynchronously:
Example
// create an image object
const image = new Image();

// when the image is loaded
image.onload = () => {
  document.body.appendChild(image);
};

// set the src and alt attribute
image.src = './assets/panda.jpg';
image.alt = 'Cute panda';Adding Other Attributes
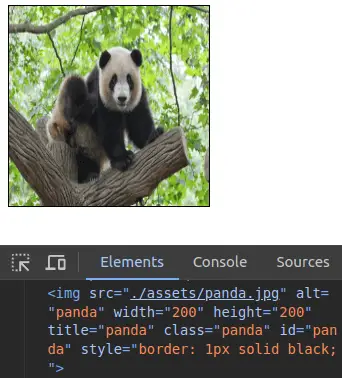
All the possible attributes that can be added to an image. The following code snippet shows how to add other attributes to an image element:
// create an image element
let img = document.createElement('img');

// 👉 set the src attribute
img.src = './assets/panda.png';

// 👉 set the alt attribute
img.alt = 'panda';

// 👉 set the width and height attribute
img.width = 200;
img.height = 200;

// 👉 set the title attribute
img.title = 'panda';

// 👉 set the class attribute
img.setAttribute('class', 'panda');

// 👉 set the id attribute
img.setAttribute('id', 'panda');

// 👉 set the style attribute
img.style.border = '1px solid black';
Output:
Handling Image Load Error
When the image is not loaded, the onerror event handler is triggered. We can use this event handler to handle the error.
Let's see an example to handle the error:
// create an image object
const image = new Image();

// when the image is loaded
image.onload = () => {
  document.body.appendChild(image);
};

// when the image is not loaded
image.onerror = () => {
  console.log('Image not loaded');

  // 👉 or we can set a default image
  // image.src = './assets/default.png';

  // 👉 or we can remove the image element
  // image.remove();
};
Conclusion
We learned how to dynamically create image elements, load images asynchronously, and modify their attributes such as the source, alternative text, and dimensions.
By leveraging the power of JavaScript, you can create dynamic and interactive web pages that make effective use of images to captivate your users. So go ahead and start experimenting with image manipulation.